Remove Monitor Scratches
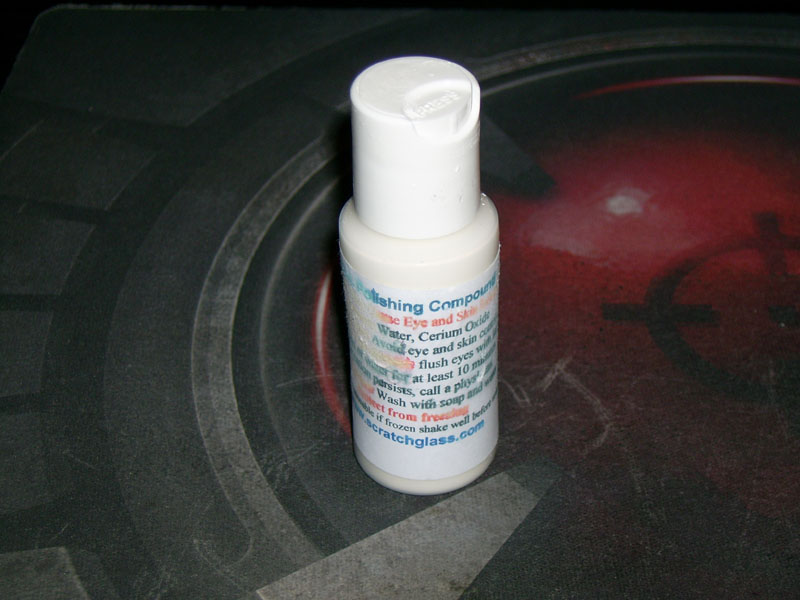
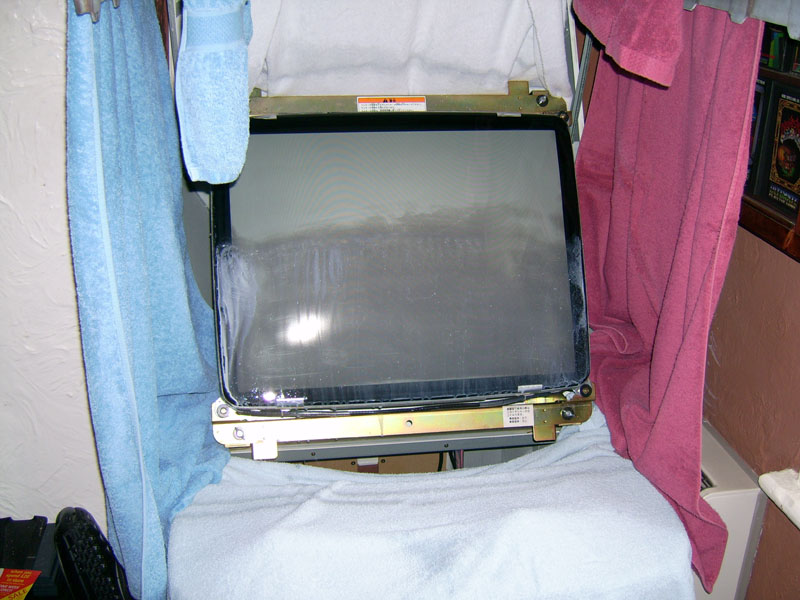
First you need a glass polishing kit, I got mine from this site: http://www.scratchglass.com/pages/glasspolishkit.htm they take paypal and are pretty quick at posting the kit. You also need a power drill recommended speed 2000 rpms, and a water sprayer. I also recommend covering up the sides,top, and bottom around your monitor with towels as there will be a fair amount of spray, I didn't to start off and sprayed my wall and display cabinet and had to wipe them down so be warned !. (unplug power to your cab first !)
Edit**Also good to have a bowl of water for cleaning\wetting wiping cloth and a big kitchen roll for drying down the screen.
Ok read the instructions and then attach the buffer to the power drill, attach the buffer disc:

Apply some of the polishing compound:
Get the spray bottle ready, I started the job without one (don't) you can control the amount of water with the sprayer a lot easier than with say a sponge:
Give the screen a light spray of water with the sprayer and then start to polish the screen with the drill-buffer moving back and forth horizontally from side to side. As you can see from the pic the coating starts to come off, takes quite a bit of time going over and over the area. A warning if you don't want you screen to crack DON'T hold the buffer in one spot for more than 20 seconds as per the instructions (heat build up=crack, not good Evil or Very Mad :
Zap that dirty looking coating, close up pic:
Just a couple of patches left, took me about 2 hrs to get to this stage:
Left mark up close:
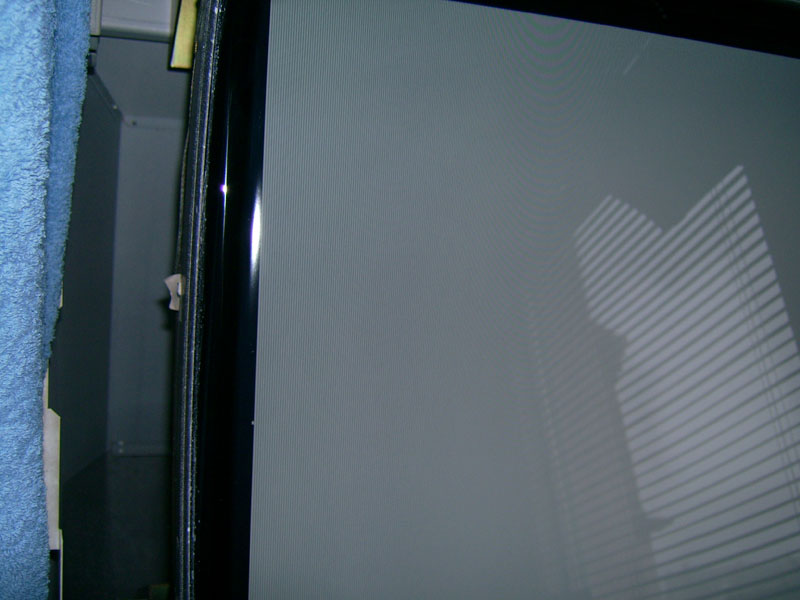
Now you see it , now you don't Happy :
Bottom mark still visable:
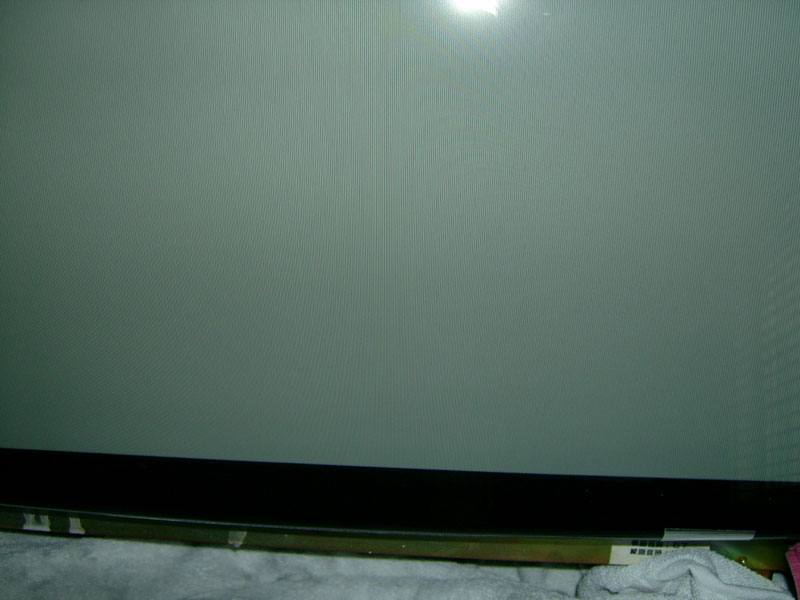
Now it's not:
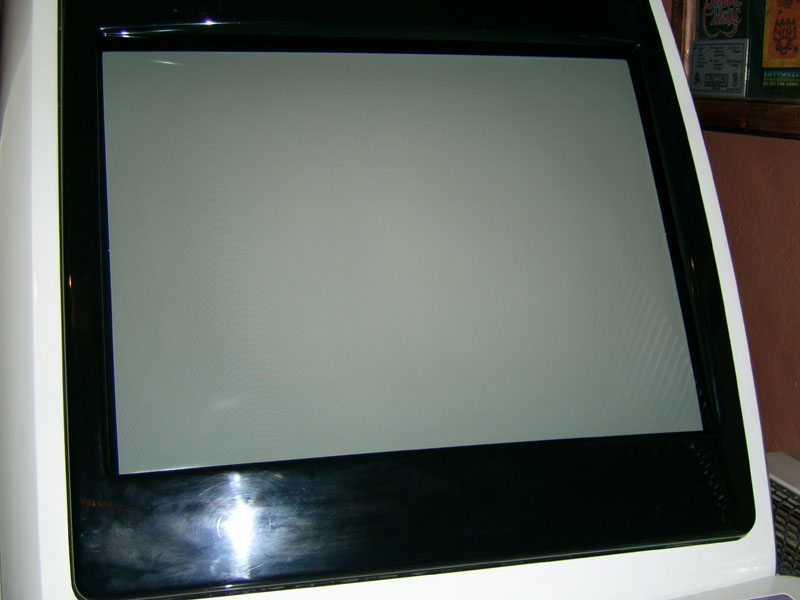
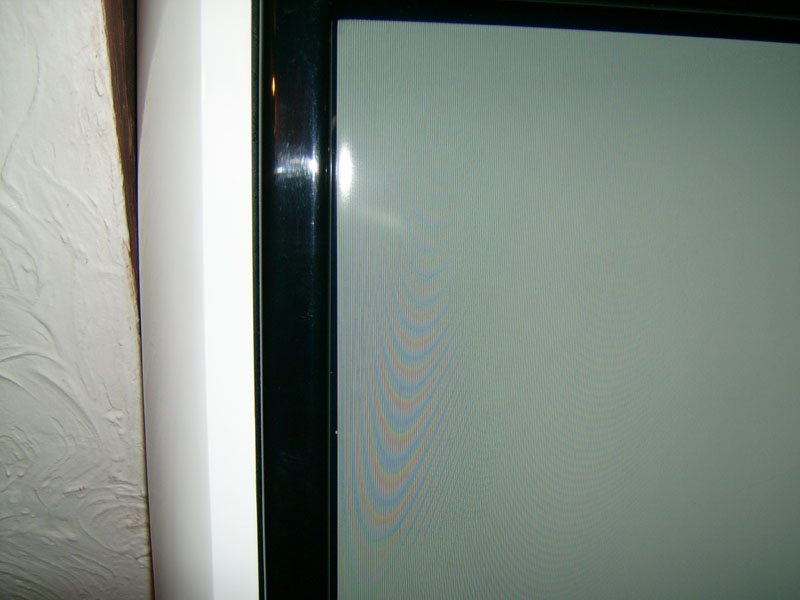
My new shiny screen :P :
Dito:
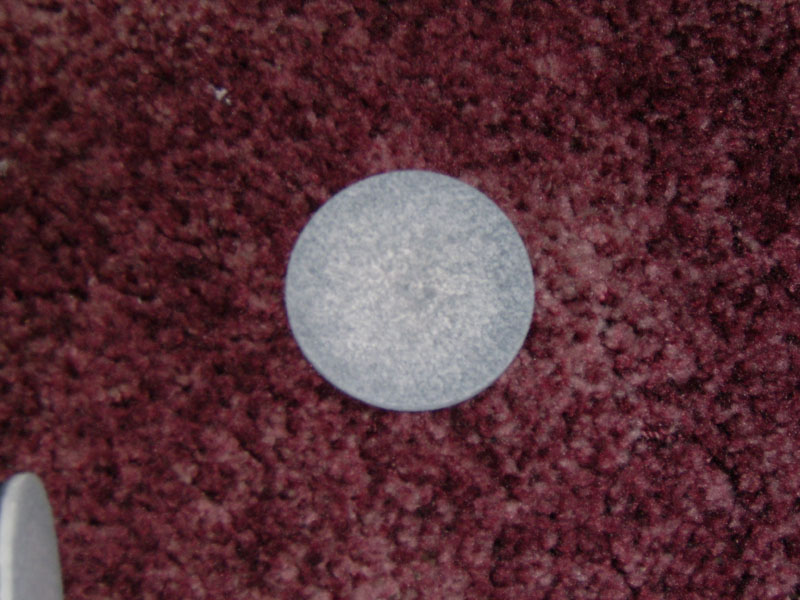
That's one dirty disc:
This pic show's how dirty the disc's got up until the last disc which I used to finished off with:
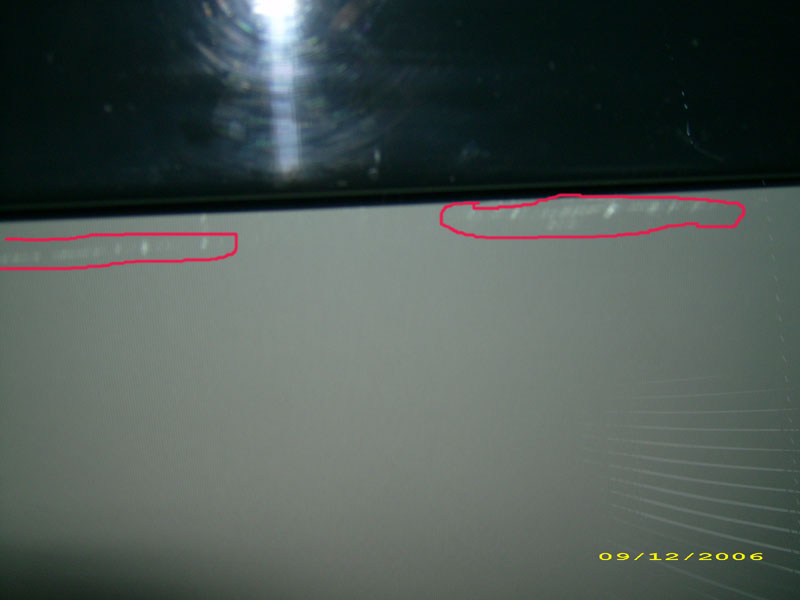
These were the marks that I had before I started this little project:
Diff angle:
I also had some marks down the left side of the screen and a few swirl marks right of centre, now all gone :D , The kit will also remove slight scratches as long as you can run your finger nail over the area and not snag your nail. I suppose all that's left to say is I'm over the moon with the job :P , It took about 3 hrs from start to finish. I also take no responsibility for any damage you do to your monitor from this guide, but you already knew that right Happy .
