New Astro City Strip Down Guide
How to strip a New Astro City by thomj
These steps also apply to the Astro City and Astro City II
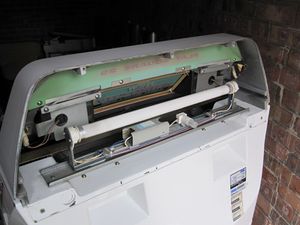
First you need to remove this panel behind the flourescent tube. On my cab it was attached with phillips head screws but I'd guess perhaps originally it had security torx.
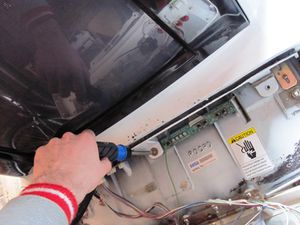
Then round the front, open up the CP and remove these screws holding on the monitor surround.
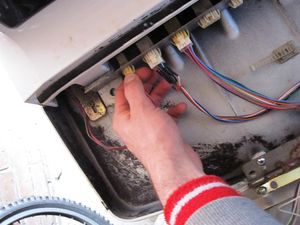
You also need to take out this AMP connector which leads to the speakers in the surround
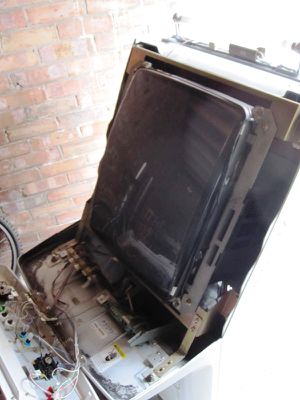
You can then lift off the monitor surround.
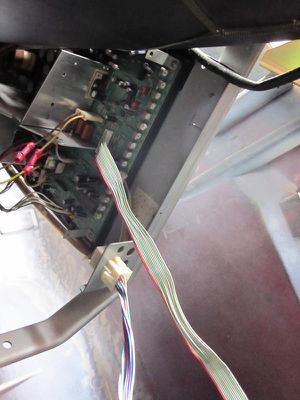
Next you need to disconnect the monitor. You need to remove the 15 pin AMP in the bottom left of this pic. You also need to do something with the remote board. You could disconnect the ribbon cable from the chasssis but I left that there and just unscrewed the remote board inside the CP.
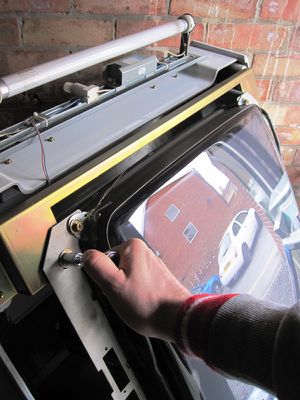
Then remove the bolts attaching the monitor to the frame
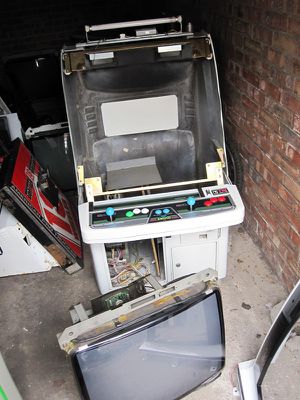
And lift it out

Almost there. But this last step's the worst. You need to separate the two halves of the base section. There are screws around the bottom at the back and also running up the sides as shown here. These can be extremely stubborn. You'll need a large, quality screwdriver or bits. I battled with some of mine for over an hour using a range of tools and brute force. In the end I had to resort to cutting the last two.
Note: these screws are JIS (Japanese Industrial Standard), which are a slightly different spec to phillips or pozidriv. It is best to source a JIS-compatible bit if at all possible and use a ratchet driver to get maximum torque. Several people have reported needing to use a screw extractor to remove these, or resorted to cutting the heads with a dremmel to get purchase with a flathead driver.

You also need to remove these screws attaching the monitor framing to the other half of the cab. You can then just separate the two halves of the base.

Here are the bits inside and ready to be reassembled